
1. Kaleidoscope Layout, 2. Sue D Kaleidoscope Squares - So Scrappy!! , 3. Kaleidoscope QAL 12 of 49, 4. Kaleidoscope QAL, 5. K QAL, 6. Kaleidoscope of Blues, 7. Pieced the First Part, 8. Progress, 9. kaleidoscope quilt along
This week, we're going to focus on finishing up your kaleidoscope blocks. There's three basic chain-piecing steps that we'll follow to finish piecing the blocks, then we'll square them up, if need be, and next week, we'll start putting those tops together! Are you excited? I know I am, let's get started!
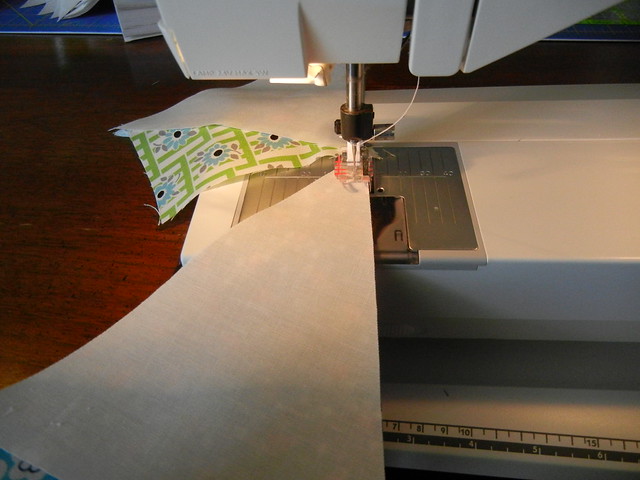
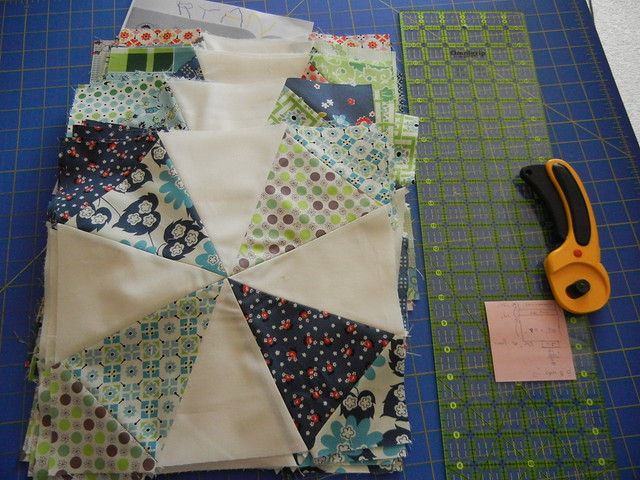
1) With a quarter-inch seam, sew a neutral triangle one of the pairs you sewed up last week. Make sure to place your neutral triangle, wrong side up, on top of your corner triangle/kaleidoscope triangle pair, with right sides facing. You will add a neutral triangle to each of the pairs you made last week.
Finger press your seams open, then finish them off with the iron to set the seam. You've now finished a quarter of all of your blocks!!
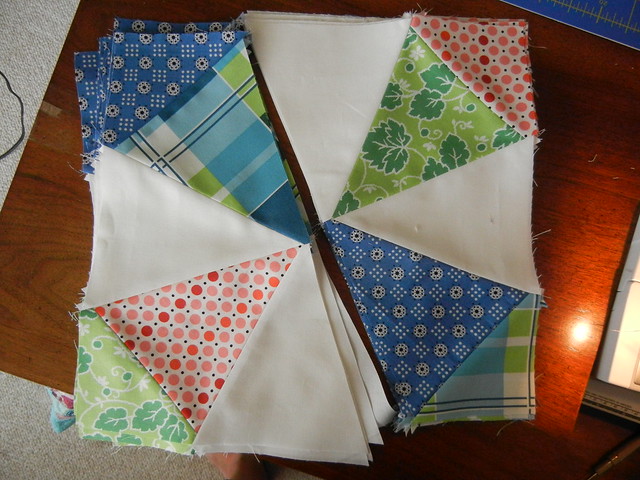
2) Next, if you haven't already done some sorting, now's the time. Find four pieces that you want to match up to make your blocks and make some piles. For each block, you should have two piles, and in this step, we're going to be seaming your two quarter pieces into half of a block.
3) Finally, let's take those half blocks and seam them together, again, using a quarter-inch seam. Some people find this step a little bit tricky. Here's how I match up the seams.
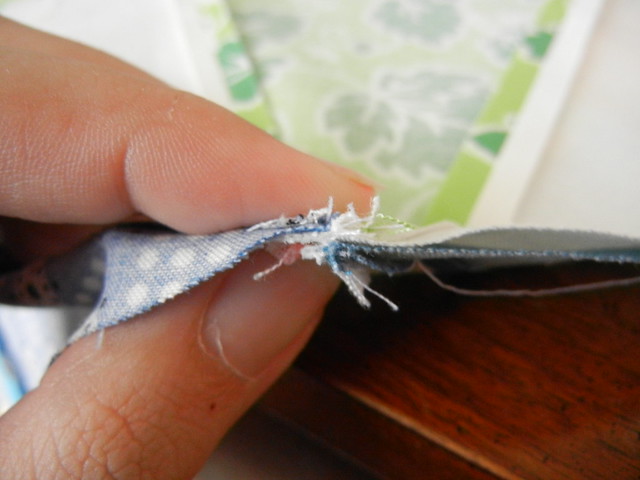
Carefully line up the center of each block, making sure that the seams match up, and for good measure, stick a pin in the center to hold it in place.
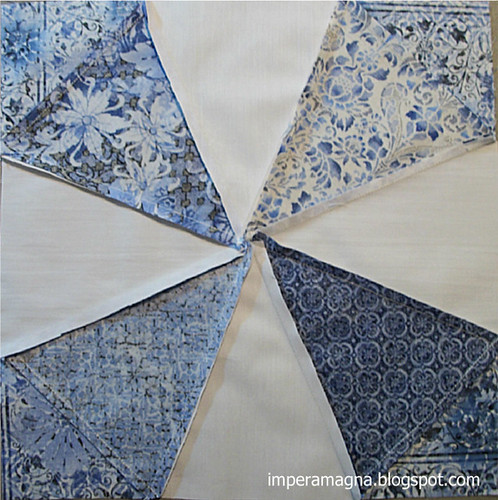
As for pressing, I do press my seams open, and I have found that in my final press of each block that a little bit of Best Press sometimes helps things lay down a bit flatter. Another trick for making your blocks lay flat is to press your seams to the side, in a clockwise fashion, which will create a little bit of pinwheel action on the back, like Freda showed off in Flickr group below...
I can never remember to press my seams to the side, even when I want to, so my seams on this project are all pressed open, but do what works for you! And don't worry about bulky block centers - I've found that once you've quilted, bound, and washed a quilt, bulky block centers disappear into crinkly wonderful-ness :)
Once you get your blocks sewn up, start to have some fun with them - lay them out in different ways and see what strikes your fancy. Even if you've got a clear-cut idea for your quilt, play a little bit. You might surprise yourself. I can't wait to see more finished blocks popping up over on Flickr! I hope you're having as much fun with this quilt-along as I am :)


Thanks E! You're always so reassuring about the next step, and take the panic out of it for me. I'm still behind, but moving in the right direction. Jxo
ReplyDeleteOh, great tricks! Thanks a lot. I already tried both. It works well.
ReplyDelete"This week, we're going to focus on finishing up your kaleidoscope blocks."
ReplyDeleteOr if you are me... "This week, we are finally going to get things cut out!" haha. Love seeing everyone's progress, glad I can FINALLY get started this weekend... hope to get caught up by the end of next week with luck!
How exciting to see my quilt in your post today! (purple stash quilt) I'm having so much fun with this project. I might have the top assembled today.
ReplyDeleteEveryone's blocks are gorgeous! Thanks for sharing. I hope to come back and kaleidoscope with you later.
ReplyDeleteWonderful instructions!
ReplyDeleteCan't wait to see my quilt come together!
Your mosaic is so great - I love looking at the variey quilts you can make from one pattern just by altering your fabric. Really cool... Keep up the good work, QAL-ers!
ReplyDeleteYah! I am so excited! Can't wait to get off of work!
ReplyDeleteWow - I can't believe how different they all look. Very fun montage from the flickrs!
ReplyDeleteThank you so much for all the great instructions. I haven't quite made it as far as cutting yet - life kind of got interrupted for a couple of weeks unexpectedly. But all the flickr pics are great and I'm looking forward to catching up soon.
ReplyDeleteGreat instructions! I can't wait to get sewing!!! :)
ReplyDeleteI agree with Judith - I love how reassuring and positive you are! Maybe I'll even start sewing mine soon! :)
ReplyDeleteI love the 'washed' look. Sounds like it might come in handy with this quilt.
ReplyDeleteAwesome! Thank you! I am excited to put mine together!
ReplyDeletewow, these all look great! You should be proud to have inspired all this quilty goodness!
ReplyDeleteLove the colors in yours, thanks for this QAL!
ReplyDelete*sigh* Still trying to catch up! Hope to this weekend, for realsies this time! : )
ReplyDeleteGreat instructions! I'm still sewing my triangles together and having fun randomly picking out the prints. Can't wait to get to this step!
ReplyDeleteI'm so sad I just came across this quilt along! I ADORE this pattern! Definitely keeping this in the idea catalog. Can't really quilt right now as the bathroom remodel is eating the fabric budget (and my sanity) but I'm happy browsing. Love to see you around my place sometime! http://confessionsofaslackermom.blogspot.com
ReplyDeletei finally finished my blocks last night. i was apprehensive about working with bias edges, but this went together really quickly once I got moving. My blocks are laying out on my design table (translation: cutting board on my dining room table). i should have my rows ready to assemble by the end of the evening. yay!
ReplyDeleteWhat is the size of the finished square at this step to trim if needed?
ReplyDelete